Monday, June 20, 2005
Back at it
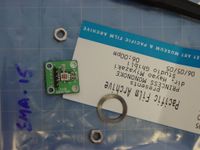
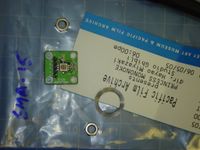
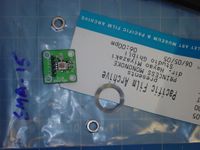
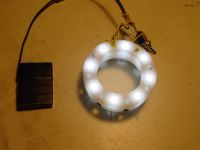
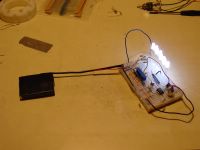
Ok so here is the new setup. I didn't try the variable light dimmer, just a simple current limiting resistor value. The pics were taken with a fresh battery, weighing in at 4.0V. with one 10.5Ohm resistor for the dim setting. And three resistor to get 3.7Ohm for the bright setting. That should correspond to about 8mA and 24mA, respectively, for each LED. Disclaimer, this is not the "proper" way to power/current limit LEDs, you should have high voltage and a chain of LEDs in series, or my current setup with a resistor for each LED. I plan on doing the latter later, when I have access to PCD prototyping equipment.
I think the dim looks best close up, and bright farther away. The room was well lit and the camera fairly still. What do you think?
I think the dim looks best close up, and bright farther away. The room was well lit and the camera fairly still. What do you think?
Friday, May 06, 2005
Dim or Dimmer
I tried a translucent plastic strip over the LEDs to hit a midway point between paper and nothing. I don't think it diffuses the light as much as I had hoped. Hum...
I got a LM2951 voltage regulator that will supply a constant 3.3V @ 100mA, I will try that out instead. I won't need any resistors, because the 100mA divided by 8 LEDs would be 12.5mA per LED, so they will be dimmer to begin with. Also the LEDs will be the same brightness despite the fluxuations in the battery pack. I guess if 100mA is not enough, I can run the signal through a transistor, and be able to pick just the right brightness. I could even make it adjustable!
I got a LM2951 voltage regulator that will supply a constant 3.3V @ 100mA, I will try that out instead. I won't need any resistors, because the 100mA divided by 8 LEDs would be 12.5mA per LED, so they will be dimmer to begin with. Also the LEDs will be the same brightness despite the fluxuations in the battery pack. I guess if 100mA is not enough, I can run the signal through a transistor, and be able to pick just the right brightness. I could even make it adjustable!
Thursday, April 28, 2005
Midway point
I hope...
After trying out the light ring at close range and using the angled holes pattern, the LEDs were too strong and undistributed. I made a ring of paper to spread the light, see pic below. I think that this is too dim. I will try a thin sheet of opaque plastic with a light tan tint to it, that I have laying around next.
After trying out the light ring at close range and using the angled holes pattern, the LEDs were too strong and undistributed. I made a ring of paper to spread the light, see pic below. I think that this is too dim. I will try a thin sheet of opaque plastic with a light tan tint to it, that I have laying around next.
Wednesday, April 20, 2005
Macro Light Ring Project
Just to inform the masses:
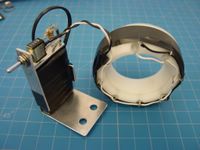
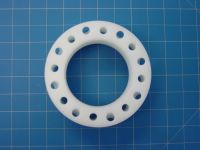
When taking close up pictures, lighting is a problem, because your camera will block a lot of the light shining on the object you are so interested in. The flash is useless because it is usually blocked by the lens barrel, is too bright, lights up one side only, or a combination of all the above. By making a ring of bright LEDs, all of the above problems are solved. This is not an original idea, Canon and Sony make them for unreasonable prices. Many others have built their own homebrewed designs, and this is yet another.
The Design:
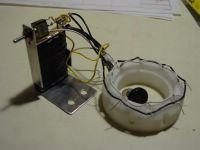
Using 100,000mcd typ. white LEDs and a Lithium-ion battery (with built-in over current and under voltage cut-off) from a cell phone, I wish to design a light ring that could illuminate both near(2") and far(12") objects while taking macro shots. I built the ring to mount snug on the barrel of my Sony DSC-S75, and house 16 LEDs, 8 facing forward, and 8 tilted in about 20deg (2" focus from the lens). This ring is overkill for the homebrewer as you could just as easily mount the LEDs on a PCB and tilt them inwards, and this would be much cheaper than a precision fabrication. Either way, I only use 8 at a time, switching between the two set of LEDs with a two on-position switch. The 8 LEDs are in series and pull 3.3V while the battery's voltage varies from 4.2V to 3.0V. I will attempt to build in a circuit that uses a 3.3 voltage regulator, with built in current limit (in addition to an under voltage cut-off), so that I may do away with the resistors.
